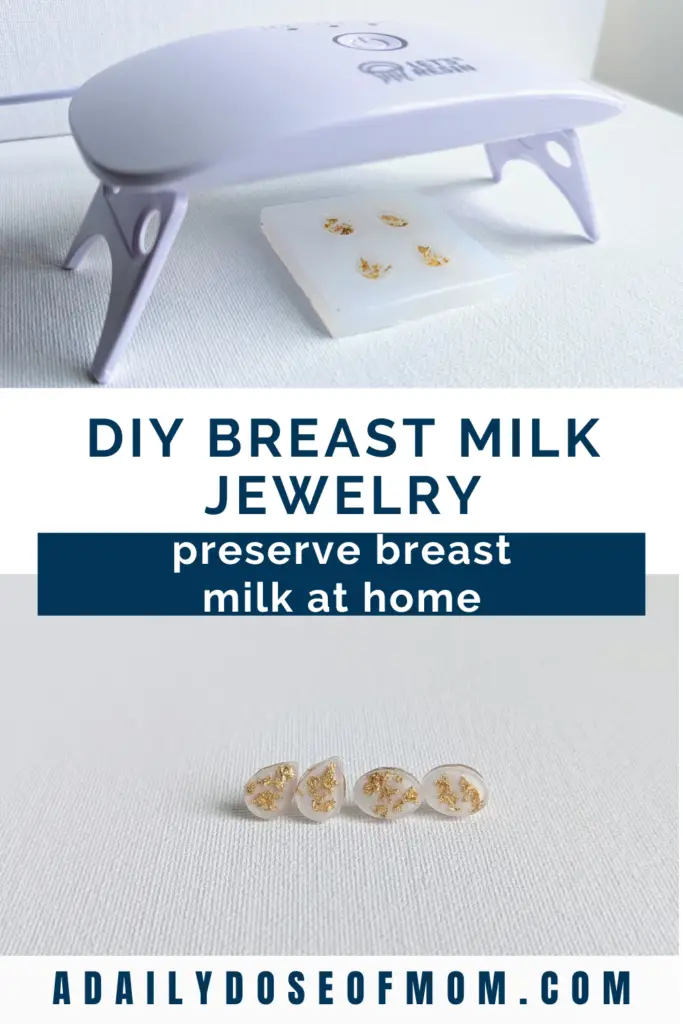
DIY Breast Milk Jewelry: How to Preserve Breast Milk at Home
Ever wondered how you can transform your breast milk into stunning keepsake jewelry pieces? Or thinking of making a special gift for a new mom? Well, get ready to unlock the secrets of preserving these precious memories in a unique way!
Breast milk jewelry is like wearing a little piece of love around your neck or on your finger. It’s a special reminder of the incredible bond between a new mother and her newborn child. Every drop of breast milk tells a story of warmth, nourishment, and endless cuddles.
And talk about a great conversation starter!
In this article, we’ll share how to preserve breast milk for jewelry. You’ll learn about the science behind it, the different techniques used, and even discover ways to make your very own breast milk jewelry right at home!
This post contains affiliate links, which means I receive a small commission, at no extra cost to you, if you make a purchase using this link. Please see my disclosure for more details.
Commemorating the Breastfeeding Journey with Breast Milk Jewelry
Breastfeeding is a beautiful and cherished part of motherhood, representing the bond between you and your child. Many moms choose to celebrate and honor this special time in their lives by creating breast milk jewelry, a unique keepsake to preserve memories of their nursing days.
These pieces allow you to carry a piece of your breastfeeding journey with you, serving as a constant reminder of the love shared between you and your little one.
Making breast milk jewelry is not only a creative way to commemorate your breastfeeding experience but also a meaningful way to showcase your love and dedication to your child. From rings to pendants, there are many options to choose from to best represent your personal style and mama’s own milk.
Before creating your breast milk jewelry, it’s essential to know how to preserve breast milk properly. Freezing is the most popular method, as it ensures the milk remains fresh for many months or even years if stored correctly. When you’re ready to make your jewelry, thaw the breast milk and mix it with a substance like cornstarch or resin to create a solid material suitable for molding.
Your breast milk jewelry will be a beautiful and distinct symbol of the loving bond with your child during your breastfeeding journey. Each time you wear your cherished piece, you’ll be reminded of the special moments shared with your little one, and the vital role you played in nurturing their growth.
Preparing Breast Milk for Preservation
Breast Milk Collection and Amounts
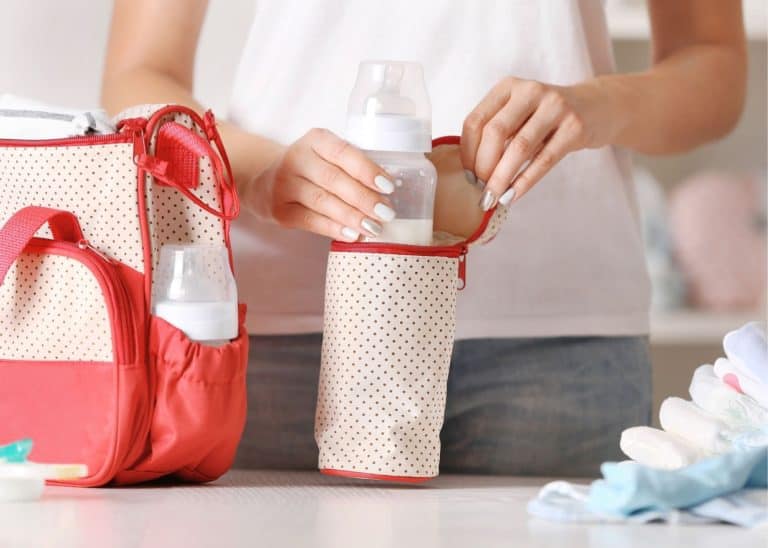
Collecting your breast milk properly is essential to preserving its quality. When pumping, make sure your hands, breast pump, and containers are clean. I recommend collecting your liquid gold in breast milk storage bags as they are already sterilized and made specifically for breast milk.
And don’t worry – you don’t need much breast milk! You will only need about 5-10 mL of pumped breast milk to preserve it for jewelry.
After expressing, gently swirl the milk to mix its components evenly. If preserving milk for jewelry, avoid shaking, as it may damage the milk’s proteins.
For optimal results, store your breast milk within 24 hours of pumping. Label your storage container with the date and time of collection to help keep track of it. When combining milk from different days, ensure that the older milk has been previously cooled to match the new milk’s temperature.
Breast Milk Storage Options and Durations
There are a variety of safe storage options for breast milk, with freezing being the most popular. Freezing is an effective way to preserve it for months or even years and is also convenient for breast milk jewelry purposes.
Here are some storage options and their recommended durations:
Room temperature: Up to 4 hours. Useful for immediate use and temporary storage.
Refrigerator: 4 days. Ideal for short-term storage and regular feedings.
Freezer: 6-12 months. The best choice for preserving milk for jewelry since it maintains quality over an extended period.
Remember, these durations are based on the optimal conditions for preserving breast milk. Always check for any discoloration, separation, or odor before using preserved breast milk, regardless of the storage method.
By following these guidelines, you can safely preserve your breast milk and create a unique piece of jewelry as a special memento of your breastfeeding journey.
Methods to Preserve Breast Milk
There are a few different methods to preserve your breast milk.
Dehydration
Dehydration involves removing moisture from breast milk to create a solid residue that can be used in jewelry making. This technique often requires specialized equipment like food dehydrators or low-temperature ovens. Once dehydrated, the milk is ground into a fine powder and incorporated into jewelry designs.
Resin embedding
Resin embedding is a popular method that involves encapsulating breast milk in a clear resin material. This technique not only preserves the milk but also creates a stunning visual effect, resembling a suspended milky gem. The resin can be shaped into various jewelry forms, such as pendants, earrings, or rings.
Freeze-drying
Freeze-drying is a delicate preservation method that involves freezing breast milk and then slowly removing the moisture through a process called sublimation. This technique helps retain the milk’s original color and texture. The freeze-dried breast milk can be set in resin or directly incorporated into jewelry designs.
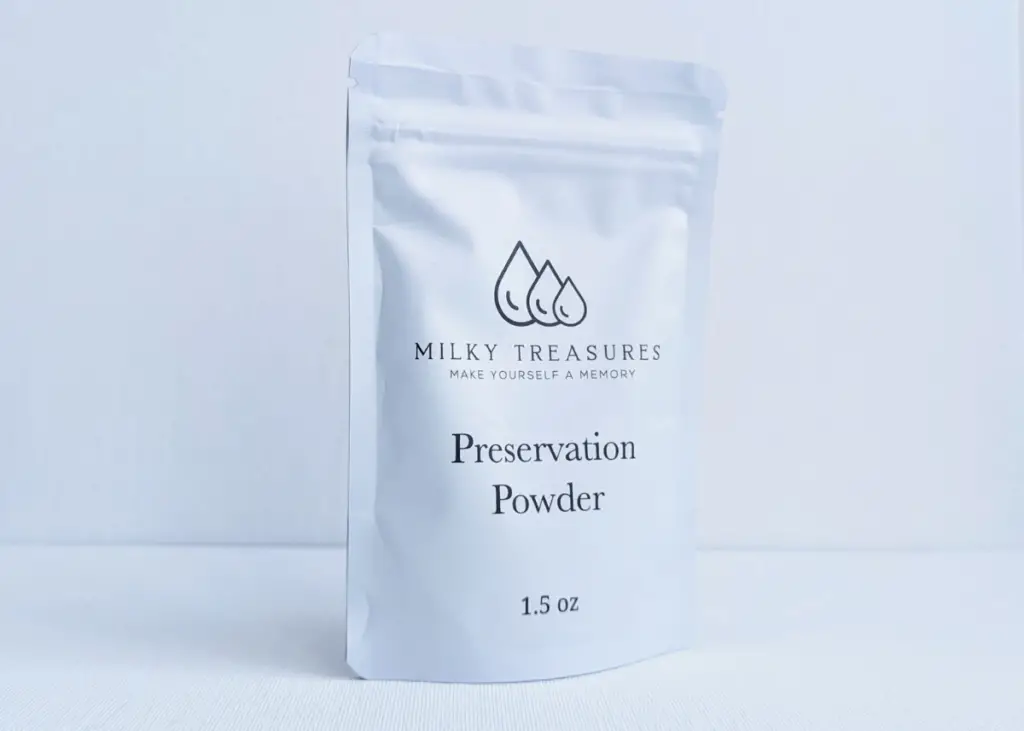
Preservation Powder
Another method to preserve breast milk is by turning it into a powder. To do this, you’ll need to use breast milk preservation powder, which has a special preservative. This helps prevent discoloration or yellowing of the breast milk as well as prevents bacterial growth.
Preserving Breast Milk with Preservation Powder
Since we are trying to preserve our breast milk as simply as possible, we will be using preservation powder.
The preservation powder that I recommend could not be simpler to use! And you don’t need much milk! There’s no need for heating up the powder and breast milk mixture or using a double boiler. Just stir consistently until it becomes a thick paste.
Once the consistency of your breast milk is a thick paste, spread it into thin layers on parchment paper. Then, allow the paste to cool down and start the drying process.
Drying the breast milk paste can take up to several days, depending on the climate and the temperature of your environment.
As it dries, the paste will shrink and harden, making it easier to handle.


Designing Your Breast Milk Jewelry
As your preserved breast milk is drying, it’s time to start designing your breast milk jewelry.
Choose Your Jewelry Type
The first step in designing your breast milk jewelry is deciding what type you prefer! There is a wide variety of jewelry types available to suit your style and preference.
- Rings are a classic choice for showcasing your breast milk stone. They can be made in various designs and metal types, from simple bands to intricate settings. A breast milk ring might feature a single stone or be combined with other gemstones for a more personalized touch.
- Bracelets are another popular option for displaying your preserved breast milk. You may choose a breast milk bracelet featuring a single bead or integrate it into a charm bracelet, allowing you to add more breast milk beads and charms over time to symbolize different milestones in your motherhood journey.
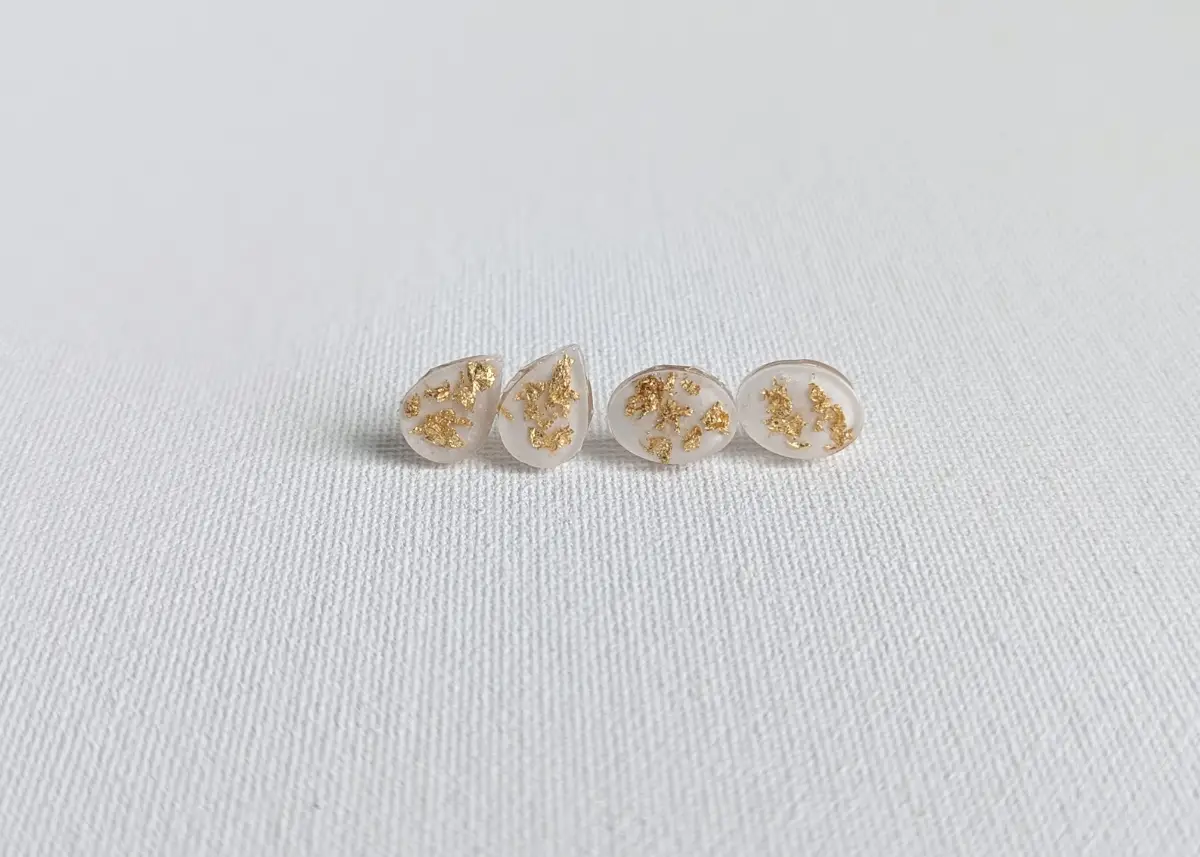
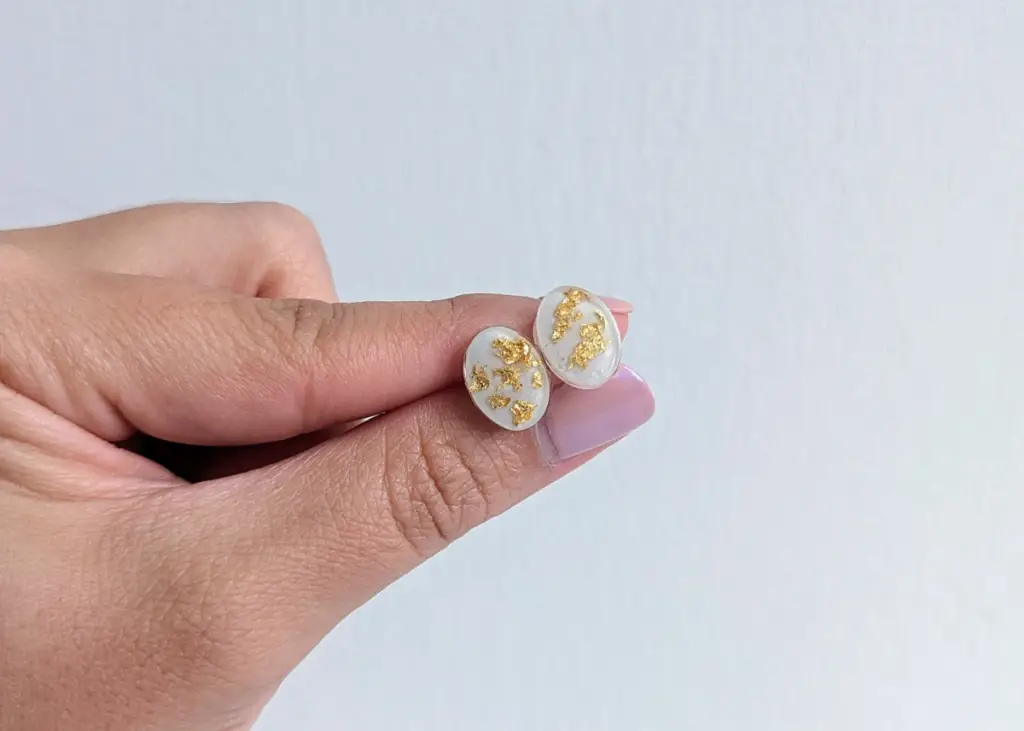
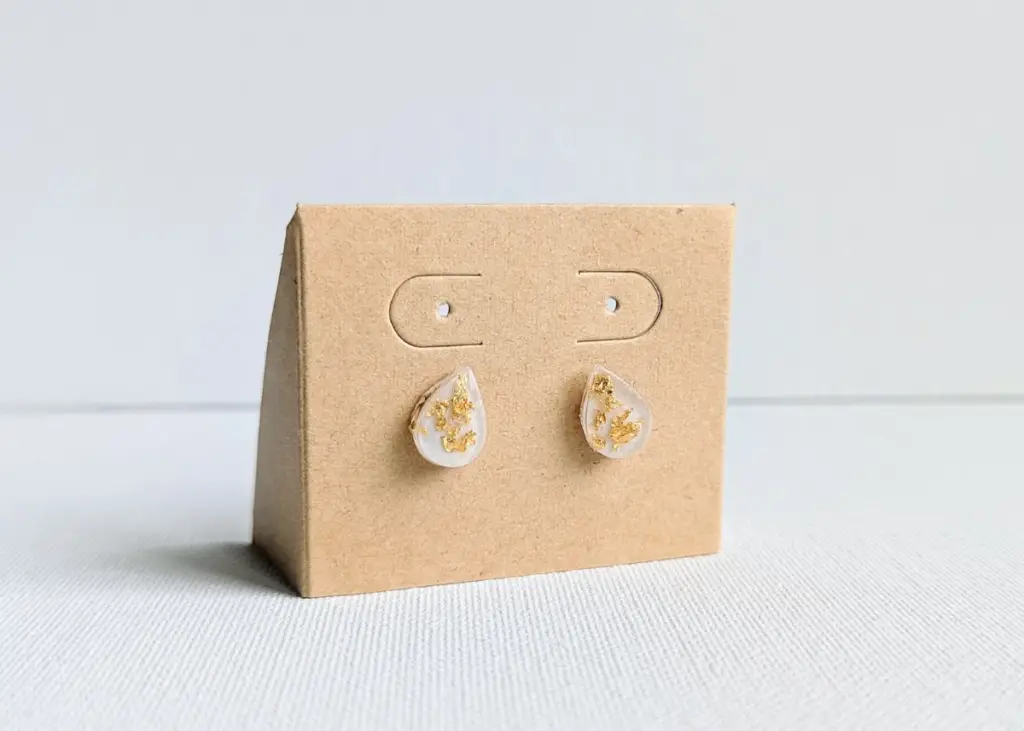
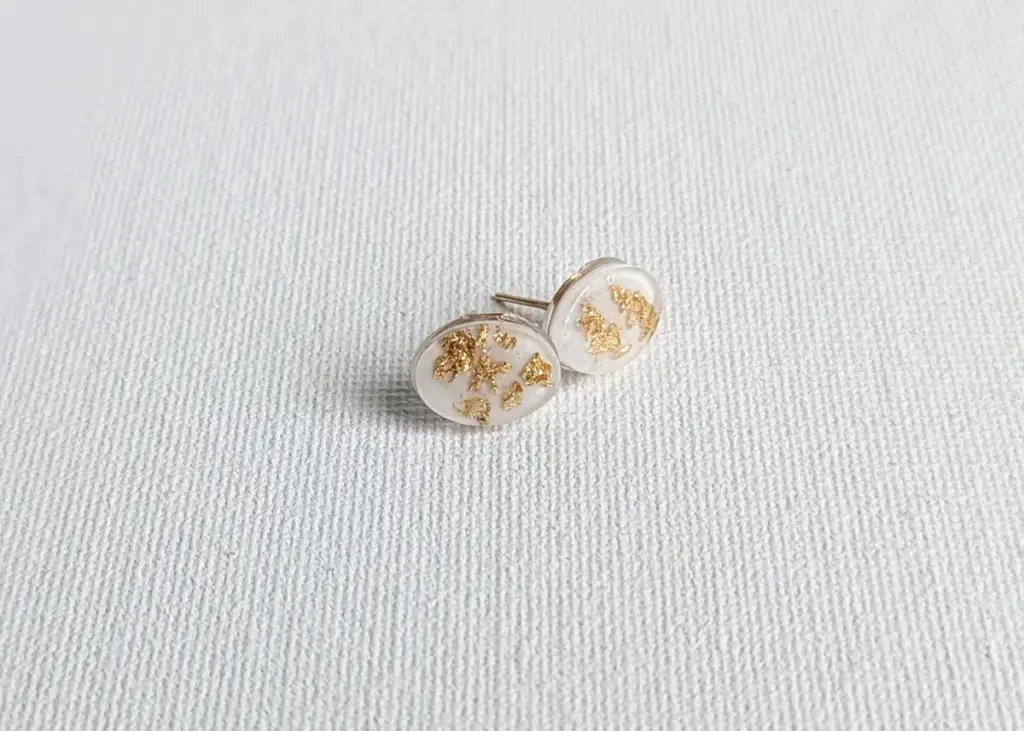
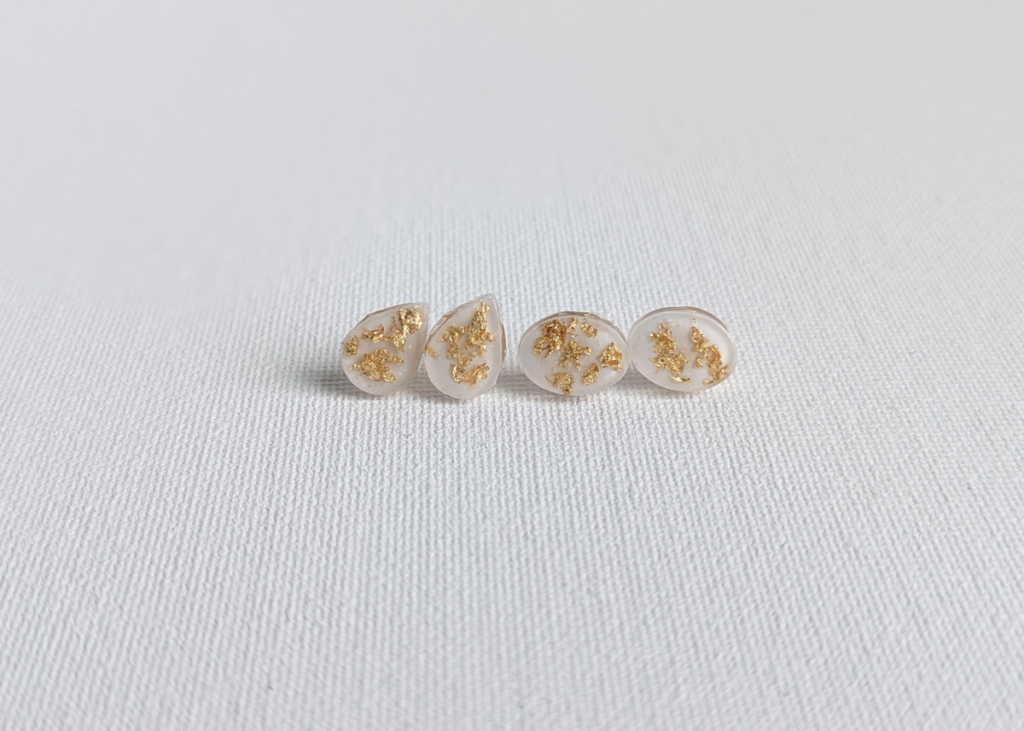
- Earrings provide an understated yet elegant way to wear your breast milk jewelry. Breast milk earrings can be created in various styles, such as studs, drops, or hoops. They can be worn alone or paired with other pieces of breast milk jewelry to create a coordinated look.
- Necklaces offer a versatile and highly visible way to showcase your breast milk stone. A breast milk necklace can feature the milk stone as a pendant on its own or be integrated into more elaborate designs with other gemstones or charms.
Jewelry Setting
For the jewelry setting, you can choose from metal options such as gold fill, sterling silver, or rose gold for your jewelry piece’s chain or setting. These choices help ensure that your breast milk jewelry not only carries sentimental value but also matches your personal style preferences.
For example, you can choose a metal that matches your wedding ring set or opt for a modern option, such as rose gold.
Inclusions
Next, you can decide how to personalize your breast milk jewelry and if you want to include additional elements. Here are some inclusion options:
- A lock of baby’s hair
- Umbilical cord
- Bits of the placenta
- Dried flowers
- Small gems
- Gold flakes
By including some or many of these items, you can create a truly unique and meaningful piece of jewelry. These inclusions not only personalize your jewelry piece but also serve as symbols of the various milestones in your child’s life.
Color Options
Breast milk can vary in natural color from a milky white to a creamy, yellowish hue, often referred to as “liquid gold.” This range of natural colors can be beautifully represented in your breast milk jewelry. Additionally, you can add tint to the breast milk, allowing for a wider variety of colors and designs in your final piece.
If you’re feeling more adventurous or want a truly unique piece, consider incorporating crushed opal or other color pigments into the resin. This can create stunning visual effects in your jewelry and also allows for matching or coordinating colors with other sentimental pieces you may have.
Creating the Breast Milk Stone
Once your breast milk has been preserved and dried, you can now create a breast milk stone for your jewelry.
For this step, you will need the following materials:
- Preserved breast milk powder
- Inclusions
- Silicone mold in the desired shape
- UV resin
- UV light
- Jewelry setting
Steps:
- Grind your dried breast milk into a fine powder. You can use a mortar and pestle or the back of a spoon in a small bowl.
- Fill your silicone mold with a small amount of UV resin as directed by the manufacturer’s labeling.
- Add any inclusions, such as gold flakes.
- Cure for 90-120 seconds, or as directed by the manufacturer.
- Mix a little bit of UV resin with the preserved breast milk powder.
- Add this white UV resin mixture to the mold to your desired opacity.
- Cure for 90-120 seconds, or as directed by the manufacturer.
- Gently remove breast milk stone from the mold.
- Finish the jewelry setting, such as adding earring backings or necklace chains.
You now have a unique and precious piece of jewelry to commemorate your breastfeeding journey. The preservation process not only captures the hard work and dedication it took to breastfeed, but also symbolizes the emotional connection you and your child shared during that time.

DIY Breast Milk Jewelry Kits
After reading all of this, you may feel like deciding on your breast milk jewelry setting is too overwhelming. Or you may not want to get all of the supplies needed. Luckily, we have good news for you! There are DIY Breast Milk Jewelry Kits available!
These kits provide everything you need and detailed instructions to preserve breast milk and create stunning pieces.
Choosing a Kit
When choosing a DIY breast milk jewelry kit, there are some factors to consider:
- Ease of use: Look for kits that provide simple, step-by-step instructions.
- Number of pieces: Some kits allow you to create multiple pieces of jewelry, while others are designed for a single item.
- Materials provided: Ensure the kit includes all necessary components, such as epoxy resin, molds, and findings.
Our Favorite DIY Breast Milk Kits

Milky Treasures Crown Necklace DIY Breastmilk Jewelry Making Kit

Milky Treasures Band Ring DIY Breastmilk Jewelry Making Kit

Breast Milk Jewelry DIY Kit
Proper Care and Maintenance of Breast Milk Jewelry
Now that we’ve made our own breast milk jewelry, we want to take great care of it so it lasts for years to come!
Cleaning
To keep your breast milk jewelry looking its best, it’s important to clean it regularly. Use a soft, lint-free cloth to gently wipe away any dirt or debris. If your jewelry requires a deeper clean, you can use a mild soap and water solution. Gently scrub the piece with a soft brush, rinse thoroughly, and pat dry with a clean cloth. Make sure to avoid exposing your jewelry to harsh chemicals, as they can cause damage and compromise the integrity of the finished piece.
Storage
Proper storage is essential to prevent yellowing and maintain the beauty of your breast milk jewelry. Keep your jewelry away from direct sunlight and store it in a cool, dry place like a jewelry box or an air-tight container. Avoid areas with high humidity or temperature fluctuations, as moisture can negatively impact the appearance of your jewelry. When storing your breast milk jewelry, consider placing it in an air-tight Ziploc bag to protect it from moisture and other environmental factors.
Handling
When wearing and handling your breast milk jewelry, it’s important to follow the proper care instructions to ensure its longevity. Make sure to always handle your jewelry with clean, dry hands to avoid transferring oils and dirt onto its surface. Avoid contact with lotions, perfumes, and other personal care products, as these can damage the delicate material.
Lastly, remove your breast milk jewelry before swimming or engaging in activities that may cause excessive sweating, as moisture can lead to discoloration and damage over time.
Frequently Asked Questions About Breast Milk Jewelry
Celebrating Your Breastfeeding Journey with Jewelry
We hope you’re inspired to preserve your breast milk as a treasured keepsake in the form of beautiful jewelry. The art of transforming this liquid gold into wearable art allows you to carry the essence of your breastfeeding journey with you, forever close to your heart.
Check out these other articles about breastfeeding and pumping!